Last Updated on January 13, 2022 by JigsawPuzzleGuru
Is there anything more satisfying to a dedicated puzzler than clicking that last jigsaw piece into place to complete the entire thing? To think that the beautiful picture before you started the puzzle lives as hundreds or even thousands of tiny pieces jumbled together in a box and you have now found time to intricately and painstakingly put back together one piece at a time is wondrous.

However, the natural question that arises after this is what to do with the picture. Do we take a photo of it to prove that we did it and then go all Hugh Jackman and start throwing it around the room in a rage? Do we say to ourselves, “hey-ho,” and proceed to break it up and put the pieces back into the box? Many people would do many of these things, but others decide to preserve their work and even frame it to hang proudly in their homes.
We’re talking, of course, about gluing and then framing a jigsaw puzzle, and in today’s blog, we’re going to tell you how to do just that.
How to Glue and Frame a Puzzle: Step-by-Step Guide
Puzzlers might be interested to know that while Hugh Jackman was famous for finishing and then destroying his jigsaw puzzle, his fellow X-Men star Patrick Stewart takes a far more considered approach. When appearing on the BBC’s most popular evening talk show, “The Graham Norton Show,” via video call, Patrick Stewart showed off his latest handiwork, all of which had been beautifully glued and framed.
How did he do that? In this section, we’ll cover the various steps needed to glue and frame your jigsaw puzzles.

Step 1: Prepare Your Materials and the Puzzle
You don’t need a lot of equipment for this process, but you must purchase the correct equipment to get the job done right. You’ll need the following things:
- Puzzle glue and spreading tool, or a similar glue that will dry clear. The spreading tool will typically come as standard with puzzle glue.
- Spray-on adhesive
- Tape
- 2 x ¼-inch foam boards (or enough to act as a comfortable background)
- A pencil and ruler
- A box cutter or similar craft knife
- Newspaper or cloth coverings for your work surface
- 3-4 heavy objects – paperweights, ceramic bowls, hardback books, etc.
- A suitably sized frame and hanging implements
These items are all you’ll need to get the job done, besides a steady and confident hand. If the puzzle is large, then you might benefit from having a second pair of hands around to help you turn the puzzle over when the time comes.
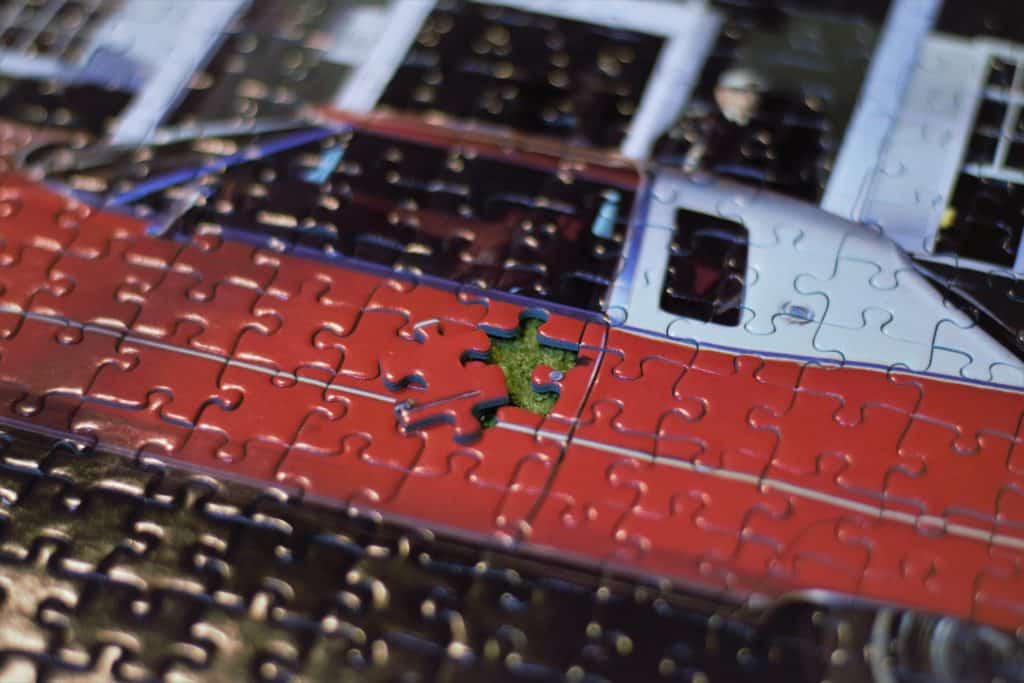
Before you get started, you should prep the puzzle to make sure it’s completely flat before you start applying the glue (see step 2). For this, you can place the puzzle on some wax paper and then flatten it down with a rolling pin.
Step 2: Glue the Image Side

If you think that “gluing” a jigsaw puzzle means to take each piece and glue them one by one to the board, you’d be wrong. Instead, you start by taking the puzzle glue or other clear-drying glue and pouring it liberally over the surface of your puzzle. Then you use the spreading tool to create a thin and even coating of glue over the entire surface of the jigsaw puzzle. Think of it like spreading frosting over the surface of a sponge cake.
As you’re spreading, be careful not to dislodge any of the pieces or, even worse, entire sections of the puzzle. Use the spreading tool gently and without applying too much pressure, and you should be able to naturally avoid any problems.
Alternative tools that either come with different glue brands or that you might find in the home include brushes like those you might use to brush butter onto meat. Of course, if you don’t have any of these tools, you could also just use a business card or anything flat that can delicately spread viscous glue over a surface.
Step 3: Play the Waiting Game – Drying Glue
The next step requires some patience, but you likely already have that in spades as a jigsaw puzzler. Depending on what kind of adhesive you have used, it can take 4 hours or more for it to dry, seal, and bond together all of the pieces in your jigsaw. Follow the instructions given on your particular product, but 4 hours is usually a good time to wait.
Step 4: Measure Up the Puzzle on your Board

Ideally, you’ll want the foam backing board to be ever-so-slightly smaller than the jigsaw itself so that it doesn’t protrude, and all you see is the wonderful image that you have put together. Next, lay the puzzle out on the backing boards and create an outline with your pencil.
A pro tip for outlining is to lay out as much of the puzzle as possible across an edge and side of the board; this gives you two straight edges that you don’t need to mark up. Then, once the outline of your jigsaw size is clearly marked, you can move on to the next step.
Step 5: Cut the Board
Remember that no one will see the backing board so you don’t need to cut the foam board with any major precision. You can use a ruler if it’s easier. Cut along the inside of the boundary that you’ve drawn to be sure that you create a smaller piece of the backing board than the jigsaw. It can then sit invisibly and comfortably on the back, supporting the puzzle before you frame and hang it.
Step 6: Gluing the Jigsaw to the Board
At this point, if you haven’t already, lay down newspapers on your work surface, especially if you’re doing this task on a household surface like the dining table or a kitchen countertop. You may have done this for the gluing stage, but if not, you must do it before the adhesive spray phase because it more easily gets away from you and all over the surface.
Carefully turn your jigsaw puzzle over so it’s face down on the table or work surface, and then apply the adhesive spray liberally over the entire backside of the puzzle. Don’t labor too long over-spraying the adhesive because the parts you spray first will start drying immediately. Cover the whole surface within 1 minute and then immediately lay the backing board on top. Don’t worry at this stage if your cutting is uneven or there are any protrusions. You can cut them off later.
Step 7: Weight Down the Board
Now it’s time to use those heavy objects we mentioned in the equipment list up above. Take whatever you have– ceramic bowls, heavy pestle and mortar, hardback books, and more– lay them evenly over the surface. About 3-4 objects should suffice. Just try to maintain even pressure across the whole surface.
Leave the objects in place for at least 1 hour to allow the adhesive to set. If you are unsure, you can just leave it overnight to ensure that the adhesive has formed a solid bond. Then, when you come to lift the puzzle after drying, you notice any protrusions or unevenness in the backing board; you can trim them off by hand.
Step 8: Frame and Hang
The good news is that the puzzle itself is very light. So if you want to hang it simply without heavy-duty framing or putting holes in the wall, you could use 3M picture hanging strips or a similar product and just put it up directly.
However, having a frame with a glass or plastic front will better protect it from warping or other damage. Find a suitably sized frame, place it carefully in, replace the backing and then hang on the wall with a nail or other hanging implement as you would any other picture. If you keep the frame light, even favoring a puzzle-friendly frame, then you won’t have to worry about multiple nails or sturdy wall attachments. Just use a single nail or hook, and you’re done.
Conclusion: Preserve the Jigsaw Memories Forever
And that’s all there is to it. With that small list of essential tools, you too can turn that puzzle you and your family so lovingly created together and bonded over into a work of art to display in your home!